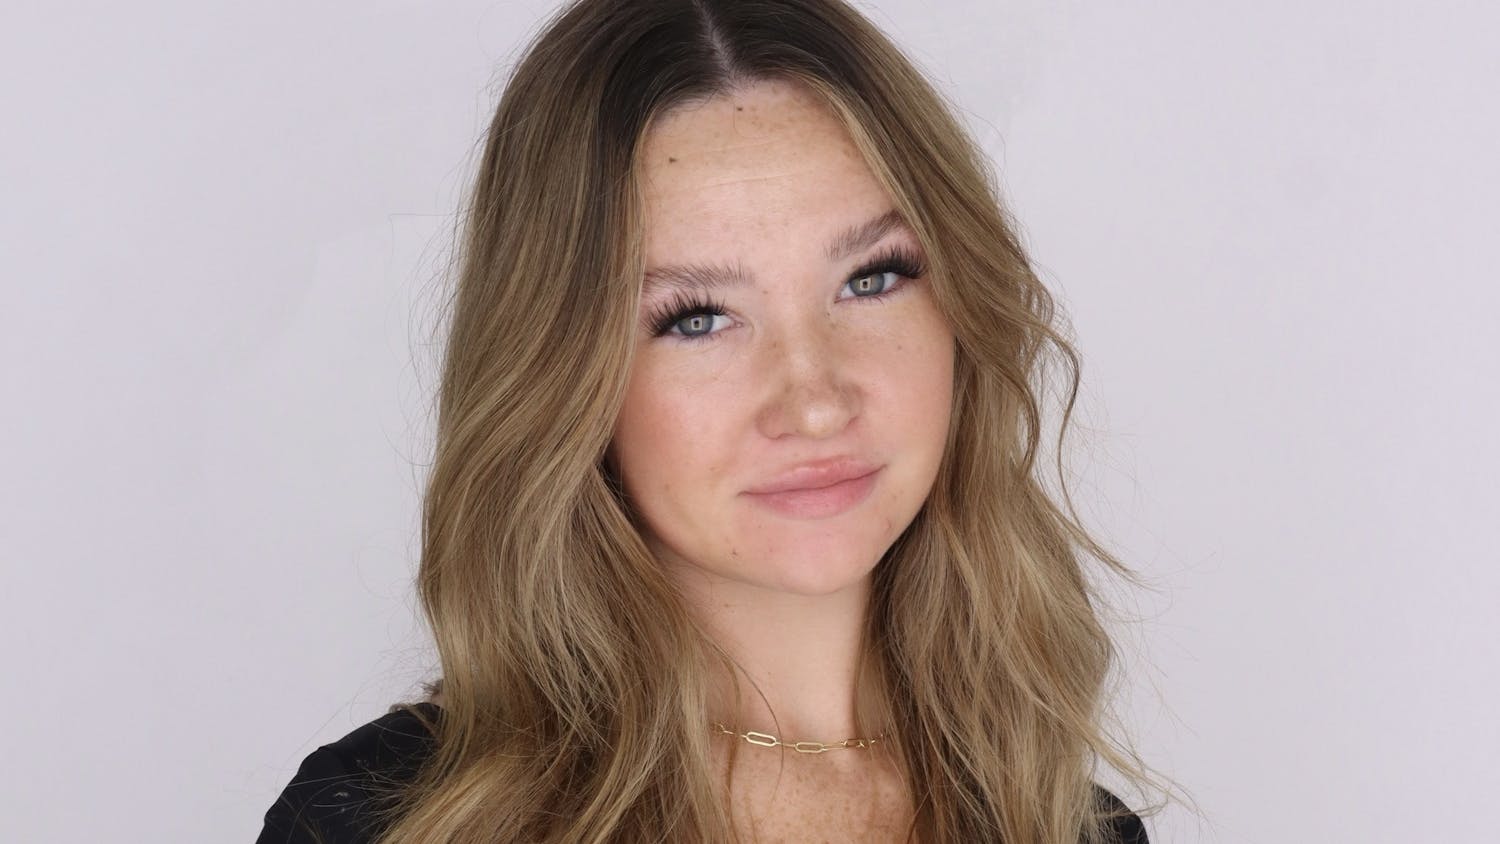
Curling wands have become increasingly popular during the past year and I’ve heard from a few of my readers that they haven’t quite mastered the new hair tool. Everyone has different methods of styling hair, but for the beauty ’Cats who asked for my advice (and anyone else who may be curious), here is how I personally style my hair using a curling wand.
After getting out of the shower, I towel dry my hair and spray It’s A 10 Miracle Leave-In Spray (about $20) evenly throughout, with extra at the ends. This amazing 10-in-one product prepares my hair for styling by eliminating frizz, creating shine and protecting against hot styling tools, among other things.
When I am planning on adding curls to my hair, I let it air dry for the night and curl it the next morning. I do this because I don’t like to use too much potentially-damaging heat on my hair when it can be avoided. I also have naturally wavy hair and air-drying allows it to have more volume and create some curls on its own.
Although the It’s A 10 has a heat protectant in it, I like to use another thermal-protection product before curling to be sure I’m not torturing my already-fragile hair. For this step I use the Tresemme Thermal Creations Heat Tamer Protective Spray. Although cheap (about $6), I’ve found that this product protects my hair well and keeps it healthy and bouncy.
I don’t like to section my hair when I curl it because I like to do random, messy sections. I do part it in the middle, though, and curl one side at a time. I start by taking a one-inch section from the bottom layer. Holding the barrel upside down, I take a section of hair by the very end and begin tightly wrapping it around the barrel away from my face until it’s as close to my fingers as I can get without burning myself.
When using a wand, make sure that you wrap the length of the section around the barrel, leaving about a half-inch left at the end for you to hold. This allows the curl to be fuller by not trailing off toward the end. Most wands come with burn-resistant gloves to make this easier but, because I have a tendency to do everything haphazardly, I just risk it. If you’re not one to live on the edge, I suggest using the glove.
Because I have long hair, when I curl the bottom sections I only wrap the lower half of it because the rest will be covered by my top layers. As the layers get shorter toward the top, I curl closer and closer to the scalp. This also allows the curls to lay better, and you won’t end up looking like you’re living in the ’80s.
After wrapping the section around the barrel, I hold the hair in place for about 30 seconds but it may take less depending on the thickness of your hair. An easy way to tell if the curl is ready is to touch the hair wrapped around the barrel to see if it’s hot. If it is, the heat has traveled all the way through the section of hair and it should have successfully taken the shape of the barrel.
Still holding the end of the section, I gently unravel my hair from the wand and catch the curl in my hand. I spritz it with hairspray — I suggest L’Oreal Elnett Satin (about $15) — to keep it in place.
After curling all of the sections, I spray hairspray over my whole head, flip it upside down and spray the bottom for extra volume. Then I gently comb my hair with my fingers to separate the curls and give them a more natural look, as opposed to the tight, uniform curls that come fresh off the barrel.
I hope I was able to successfully answer this request through writing. If not, maybe we can hang out, curl our hair, paint our nails and gossip about hot men. I’m always down for that.
Taylor is a junior studying journalism and the assistant copy chief for The Post. Have a request for another tutorial? Email her at tl674710@ohiou.edu.


